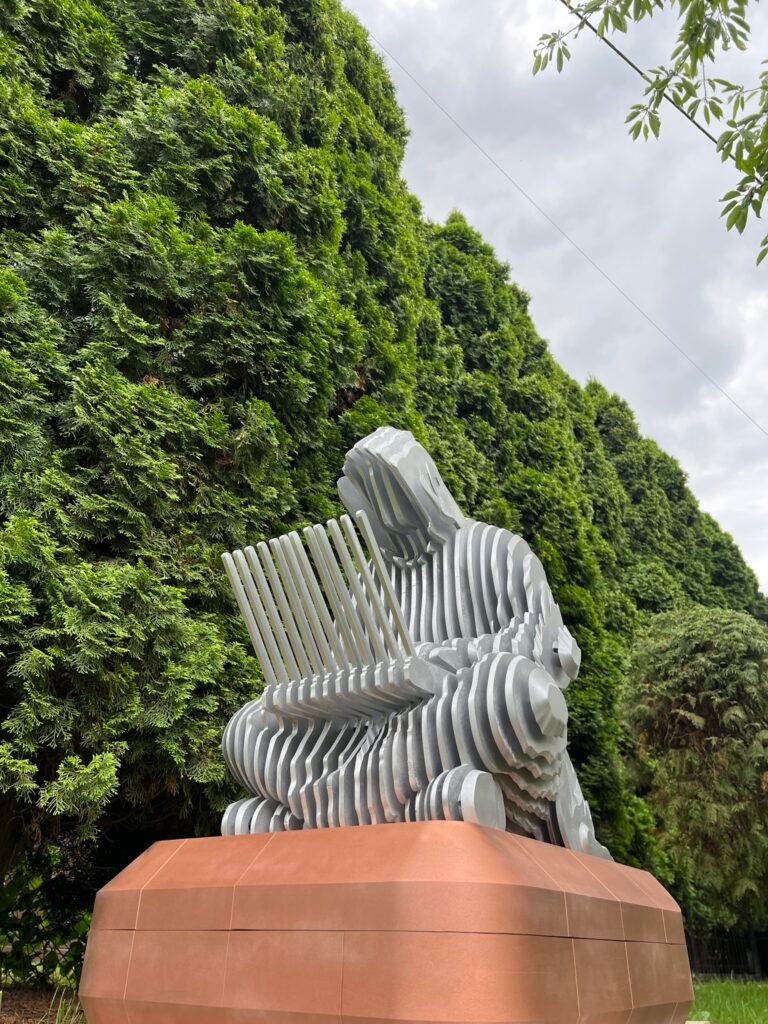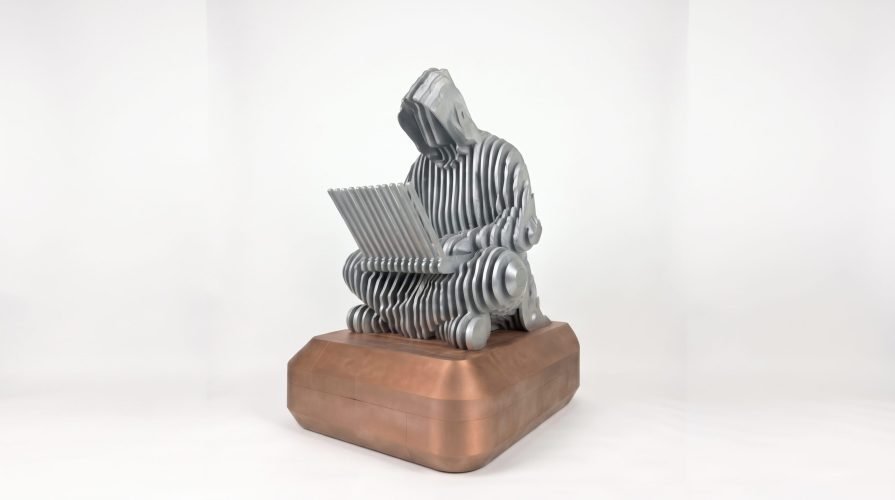
Satoshi Nakamoto — a large-format FDM 3D print assembled from 100 parts
Client: private commission (a figure as a gift)
Technology: FDM 3D printing, with production distributed across a printer farm
Material: PET-G
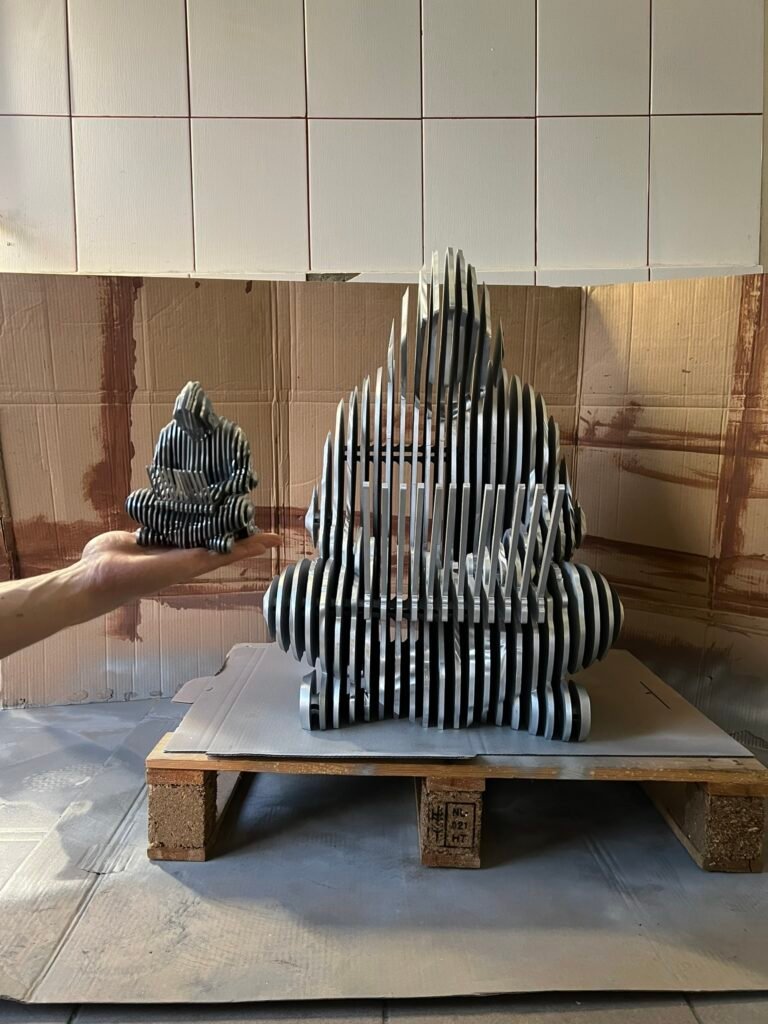
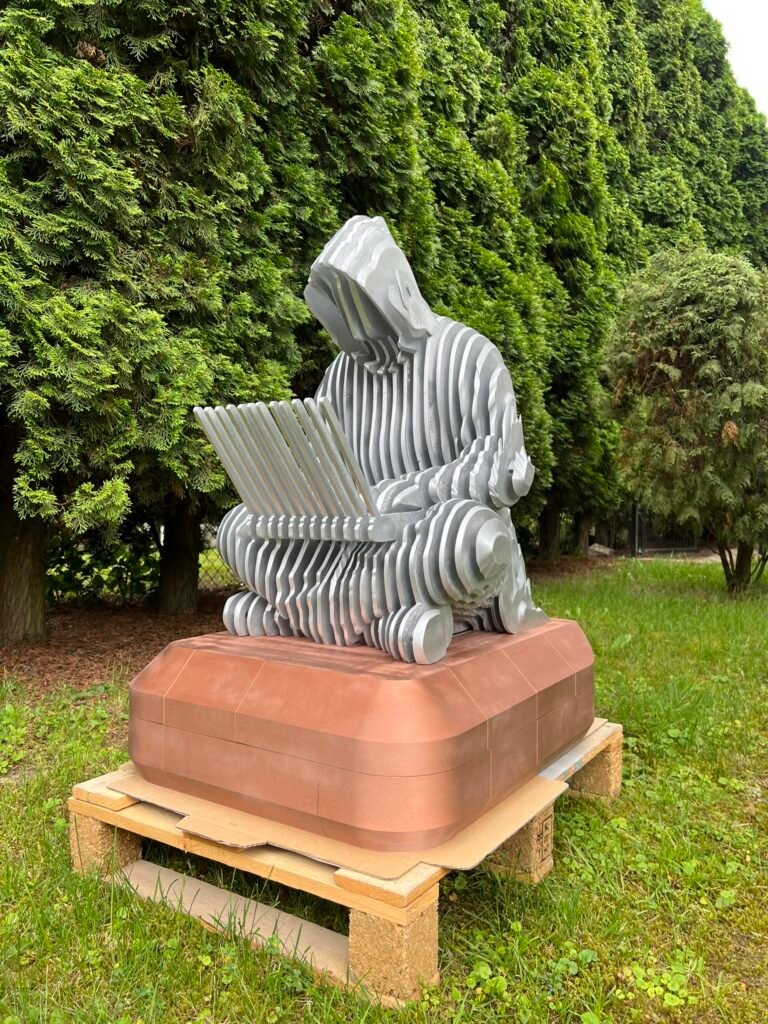
Specifications: 90 cm tall, approx. 100 parts, approx. 450 hours of printing, 20 kg of filament
Turnaround time: 7 days from order acceptance to the finished figure
Challenge
3DWayTech received an unusual request: a client wanted a 3D-printed replica of a Satoshi Nakamoto figure—the creator of Bitcoin—as a gift. They sent photos of the model they wanted reproduced at a large scale.
This wasn’t our usual type of project. We specialize in batch production of functional FDM parts, not figures, so our first instinct was to refer the client elsewhere. We started getting quotes from other 3D printing providers to produce the figure. It wasn’t until we spoke with a friend who works in 3D scanning and printing that our perspective changed. They asked, “Why don’t you do it yourselves?”
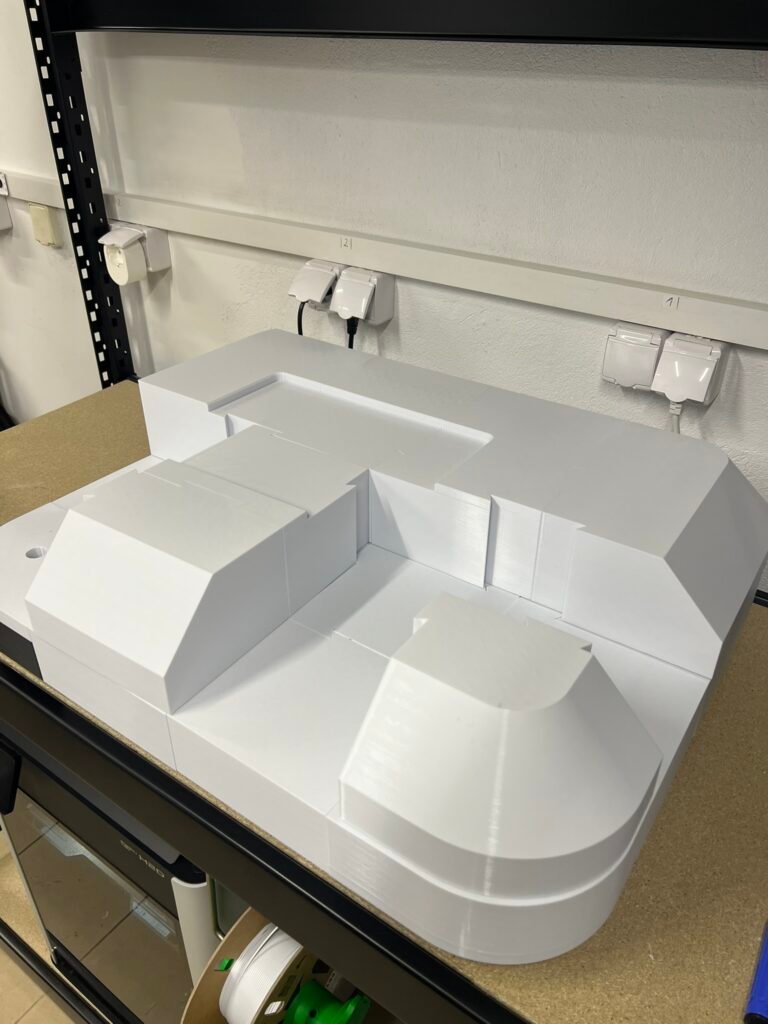
There was, however, a genuine technical challenge. A 90 cm tall figure wouldn’t fit in a standard 3D printer. The initial idea was to print it in one piece on a larger machine—which would mean outsourcing to another 3D printing provider, a long turnaround time, and no control over quality.
Solution
Instead of looking for one enormous machine, we used what we already had—our FDM printer farm. We split the model into around 100 parts and printed them in parallel across multiple printers. What would have taken a week on a single large machine—with the risk of losing the entire print if something went wrong—took us four days, with full control over each individual part.
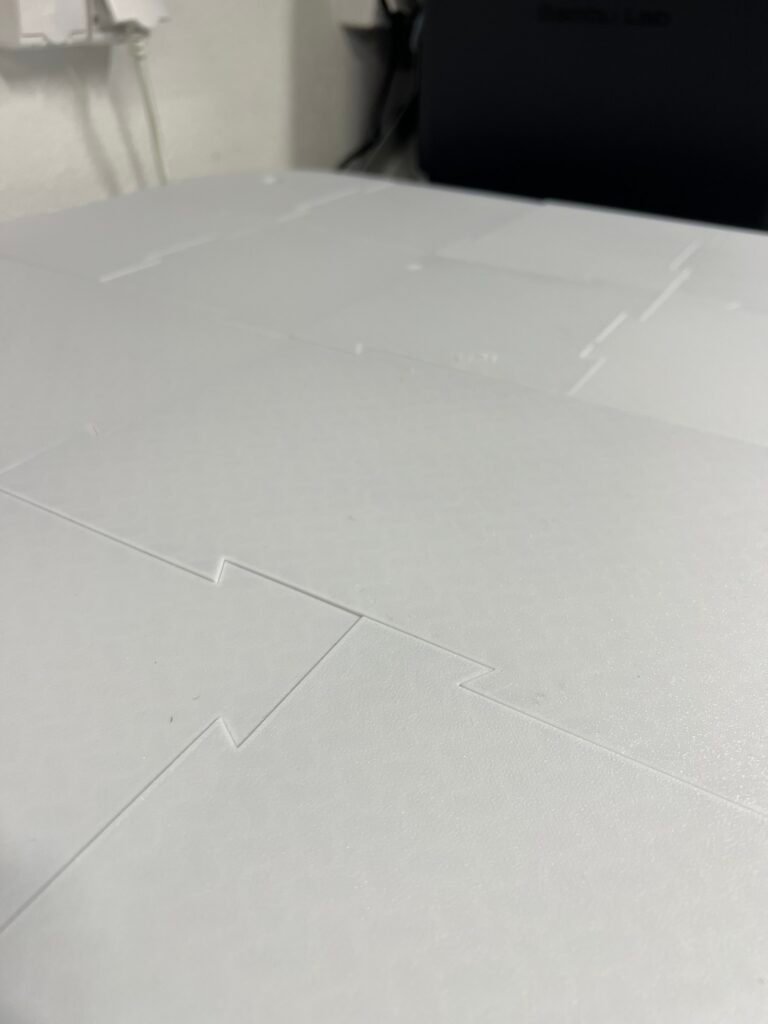
While splitting the model in the slicer, we added dovetail joints. These allow the parts to self-align and hold together mechanically even before gluing—without pins, holes, or forcing parts into place.
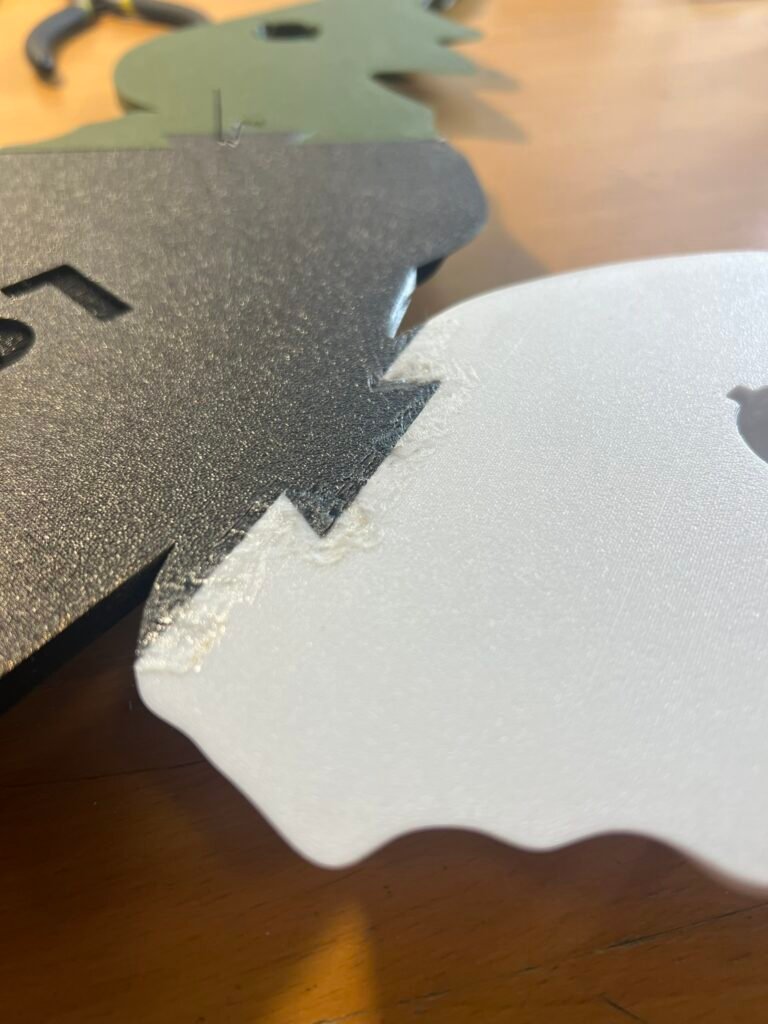
Three joining methods—tested in practice. Before permanently joining the parts, we tested three approaches:
Gluing — the fastest method, but the bond wasn’t reliable enough for flat parts with a small contact area.
Hot staples — they hold exceptionally well and embed neatly into the plastic, but the process damages the surface. Each staple then needs to be trimmed and ground flush—too much additional finishing work.
Welding with a soldering iron — this proved to be the best method. A single pass along the seam creates a very strong joint without taking much time, and minor surface imperfections are removed during sanding. The key takeaway: it wasn’t about which method was the strongest, but which provided enough strength with the least amount of work in the subsequent stages.
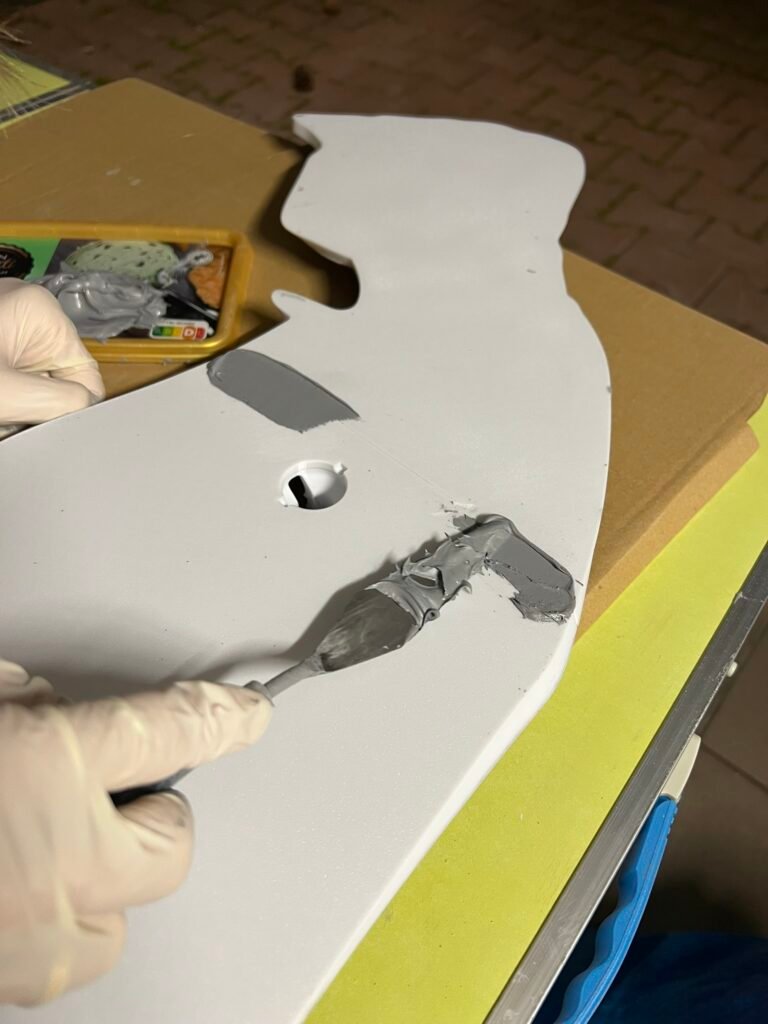
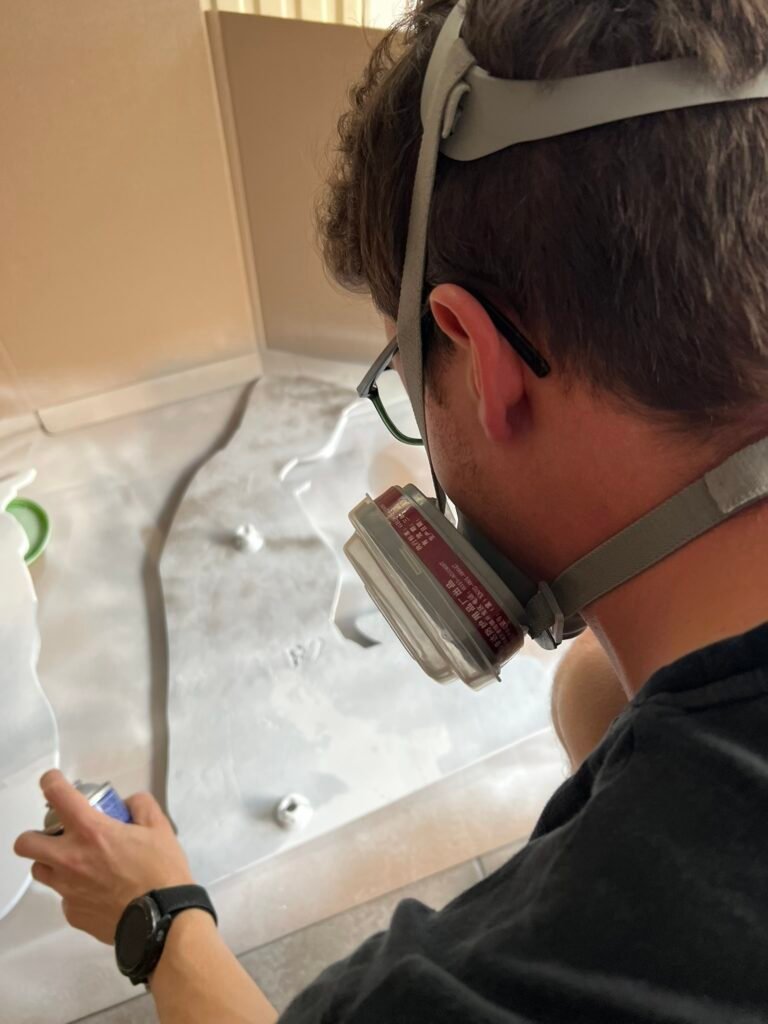
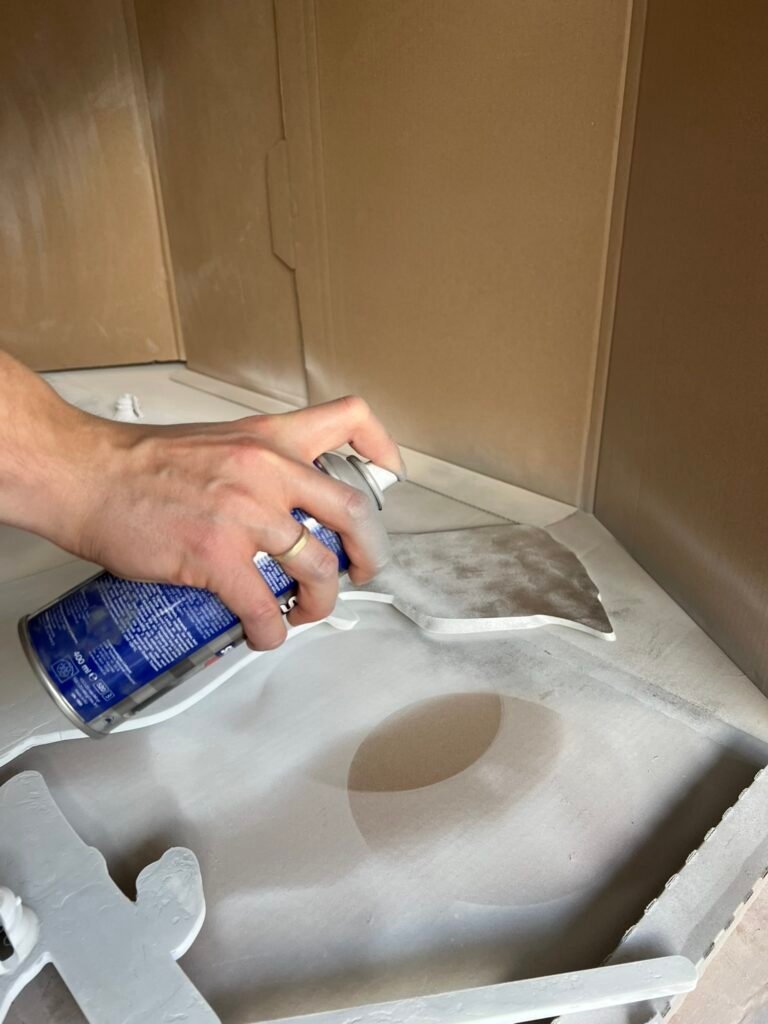
Post-processing—the most time-consuming stage. We assembled the 100 printed parts into 30 larger sections, each of which went through the full finishing process: welding the joints, sanding, filling, sanding again, then applying spray filler, primer, paint, and a clear coat. The finishing work alone took around 50 person-hours. The filler and primer smooth out the FDM layer lines and help the paint adhere, while the PET-G material and exterior-grade clear coat provide protection against the elements.
The model’s construction from flat layers proved crucial. It allowed us to fully finish and paint each part before assembly. Had the figure been printed in one piece, achieving this look and quality of finish would not have been possible.
Result
The entire project—from order acceptance to the finished figure—took 7 days: four days of printing and four days of post-processing. The 90 cm tall figure was ready on time, and the final result was impressive.
What’s most fascinating is how the form reflects the subject. The entire figure is made solely of flat layers—yet from the right angle, the eye sees a complete, three-dimensional person. From another angle, the figure “disappears.” This is a deliberate reference to Satoshi Nakamoto himself: the creator of Bitcoin, whom no one has ever seen and whose identity remains unknown to this day. Present, yet elusive.
Key Takeaways
This project highlighted several lessons that we also apply in our day-to-day production:
Distributed production beats a single large machine. Splitting the model into parts and printing them in parallel across a printer farm reduces turnaround time and eliminates the risk of losing the entire print to a single failure. The same principle underpins our batch FDM production.
Printing itself is the easiest stage. The real value—and the greatest amount of work—lies in what happens after the part comes off the print bed: joining, post-processing, and finishing. That’s where the final quality of the product is determined.
Unusual projects build expertise. We took on a project outside our core specialization and came away with a proven process for post-processing large-format 3D prints—practical knowledge you can’t gain from a table of specifications.
Have an idea for an unusual project?
If you need a large-format 3D print, a custom-made figure, or a part that requires professional post-processing and finishing—get in touch or book a brief online consultation. We’ll show you physical samples and help you determine whether FDM 3D printing is right for your application.